


If you get lucky and harvest a gobbler this spring it’s time for a few pictures to preserve the hunt. Here are a few helpful tips that I use to capture some great memories in the field. Like any game after it has been harvested, the animal tends to stiffen up shortly after the kill. This means it’s vital to prepare your animal properly if you are looking to take a few great photos of you and your trophy. The first thing I like to do is hang the bird and let its feathers open up. I usually let them hang for at least an hour, this way gravity and air do all the work for you. When you do this, it makes the bird look bigger and you can see all the colors and feather definitions.
Simply take a zip tie and tie the legs together, then find a branch or take a screw-in tree step with you to hang him on. Once the bird is upside down, it’s now really easy to quickly go through and straighten up its feathers and also spread the tail feathers out nice and even. I always clean up the bird as well by quickly combing out the feathers gently where they might have gotten ruffled up and using a baby wipe to clean up any blood around the head area or on the feathers; in the end it just looks better and respectful. Here are some more tips to make your hunt a memory to last a lifetime.
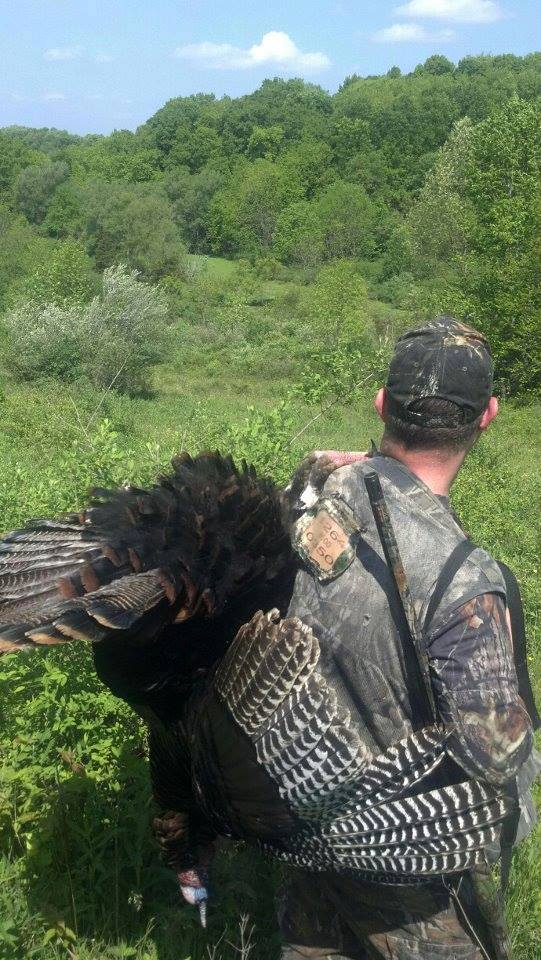
Show the habitat you hunted, the hunting clothing you wore and the weapon used. Find a suitable spot that is the essence of the terrain and habitat you hunted, but don’t let the habitat obscure your photo. Also, accurately photograph the memory of the hunting experience by making certain you are wearing the clothing you had on when you harvested the animal. The legal weapon used to harvest the animal can be included in the photos, provided it is in a safe and ethical hunting manner. When setting up for a turkey hero shot photo,make sure to include a firearm, be sure that it is unloaded, keep the action of it open and its muzzle always pointed in a safe direction.
Clean the animal and you! Clean the blood and dirt from the animal’s mouth and feathers if present. Remove dirt, leaves, cornstalks, blood and saliva from yourself, the hunter and the animal. Face any large exit wounds away from the camera.
Note the angle of the sun to reduce shadows. When setting up the photo, your top option is to position the sun over the shoulder of the photographer. An exception is at sunset, when you can use a colorful sky as a background and use the camera’s flash to illuminate the hunter and their gobbler.
Capitalize on the softest light. Take your pictures early and late in the day when the light tends to be at its softest. From late morning to late afternoon, avoid direct sunlight. Cloudy days work well too. Pose in full shade, if possible, and use a flash.
Use fill flash or tip up the hat. A fill flash will open the shadow cast on a hunter’s face by his hat. If your camera doesn’t have a flash, have the hunter tip up their hat.
Skip the tight focus. Leave plenty of space around the subject when it comes to snapping photos of an animal you harvested. You can crop the image later.
Shoot lots of different pics. Horizontal photos can include the front half of the turkey’s body and fan or the entire turkey’s body and the hunter with the surrounding landscape. With vertical photos, you can zoom in on the turkey’s fan and beard. You can also shoot a close up of a turkey’s spurs, beard or tail feathers.


