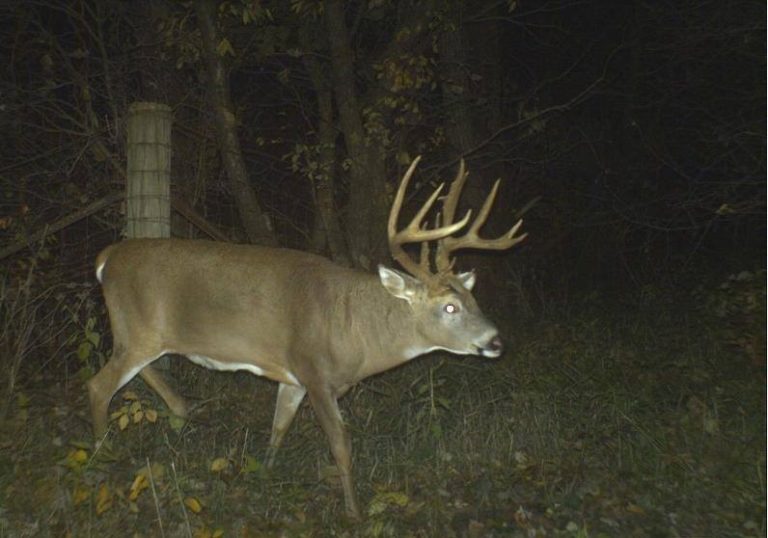
I felt fortunate last year when I arrowed a better than average buck. After tossing the idea around for a couple of days, I decided to proceed with getting a full shoulder mount of the 125-class 8 point buck. For the first time in about five years I took a deer to the taxidermist, but I decided not to have it done. I had to prioritize my needs. Did I need to provide food for my family, or did I spend a weeks worth of pay on a deer mount that my wife would not like anyway? The choice was simple. Instead of trying to justify the purchase of taxidermy work, I searched for a cheaper alternative.
Pope and Young bucks are not behind every tree of the property that I hunt. Truthfully, this buck barely surpassed the club’s minimum standards. However, I wanted to give the buck the recognition it deserved. On my living room wall are a few traditional antler mounts. They look nice, but I wanted something different. A good friend of mine has been doing has been doing his own European mounts for several years. After some consultation from my buddy, and then trying my skills at making my European mount this is what I learnt.
The first thing that has to be done is remove the head from the neck. Then remove the hide. Because you will not be saving the hide do not concern yourself with its condition once you get it off. Begin by filleting the skin off the jawbone, and then skin the head like you did the entire deer. Overall, the skinning process is pretty easy. Do not forget to remove the nose and ears. The hardest part for me was when I got around the base of the antlers and near the eyes.
After the hide is removed, you are left with a very gruesome looking skull. The next step is not for people with a weak stomach. Take a stout wire or a piece of a coat hanger and poke as much fat and gristle out of the nasal cavity as you can. You will not be able to get all of this “stuff” out of all the crevices, but do as good of a job as you can. Be very careful working around the tips of the nose. This area is very fragile.
Find a pot that is large enough to accommodate the skull. Make sure the pot will not be needed in the kitchen again. In addition, I recommend not boiling a skull inside the house because of the terrible stench it will leave behind. I used a turkey fryer stand and pot that would allow me to boil water for hours.
After you have found a pot big enough to fully immerse the skull, fill it with water. Be sure to leave room between the water level and the antler bases. Once the water begins to boil it could discolor the antlers if they are submerged in the boiling water. Another thing to be cautious of is not letting the antlers come in contact with the sides of the pot and becoming browned. If the antlers are touching the pot, wedge a piece of cardboard in a manner that it will not catch fire.
A whitetails skull is full of grease that will turn it yellow during the boiling process. To prevent this add some sodium bicarbonate (sal soda), which also helps loosen all the meat still in the skull.
Eventually, as the skull boils, flesh and tissue will loosen and fall from the skull. Be sure to check inside the mouth for any meat and the tongue. You might have to pick the meat away from the skull from time to time as the water boils. It is not fun, but the brain will probably need some help. There is only a small hole in the back of the skull for the brain to escape through. You might have to use a piece of coat hanger or a screwdriver to persuade the pieces to go through the hole.
As I mentioned earlier the top of the nose is very fragile because of the tiny bones. Still, you have to work some of the meat out of the nasal cavity throughout the boiling process. Be careful.
The first time I boiled a skull I was surprised to thing falling apart, literally. The lower jaw is going to fall off. That is fine, you will not use it anyway. You will also find teeth lying in the bottom of the pot I became a little concerned. However, it was easy fix. All I had to do was super glue them back in when the boiling was done.
Eventually, after several hours of rapid boiling, along with some picking and prying, the skull will be free of gunk. Some stubborn areas might require a bristle brush or a paring knife to get all the meat off. Spray the skull inside and out with water to completely rinse the skull.
Now that all of the flesh is removed and the skull is clean it is time to begin the whitening process. First, let the skull hang in the sunlight to dry for a day or two. Either at a local beauty salon or at a taxidermist supply store buy a bottle of 40-volume peroxide. A taxidermist supply store is also where you can purchase the sodium bicarbonate that I mentioned earlier.
Paint the peroxide on the skull with a small brush. Be sure to hit it all, but be careful not to get any on the antlers, let it dry. Paint the skull enough times to get it as white as you want, probably one or two more times. Put it in the sun to dry one more time.
Now you can mount the skull on a wooden plaque or on a stand.
European mounts also look nice just lying on a coffee table or mantle. However you display your trophy, you can take pride knowing that it is something you did from start to finish.