What hunters do immediately after killing a whitetail, and until they are able to get it to the taxidermist, can make or break the finished job.
1. It Starts In the Field
With any deer you kill, whether a wall-hanger or not, the first thing a hunter will do is field-dress the animal. Proper field dressing is a must if you want to have the animal mounted. As always, place the animal on its back to begin field dressing. The first cut is made just above his sexual organs. After I have cut through the skin, I like to use a knife with a gut hook. Gerber makes the knife/gut hook I use. It gives a clean, smooth cut. The initial cut is made from the sexual organs to the sternum.
Do not cut past the sternum and into the breast area with your knife while field-dressing an animal. This will only cause extra work for the taxidermist. It’s possible the sewing job could be noticeable, however slight.
Because you did not cut past the sternum, you’ll have to reach into the deer’s throat and chest cavity to remove the windpipe and other organs. Since you’ll be working blindly cutting connective tissue, be very aware as to where your knife blade is.
There’s no need to bleed a deer by cutting its throat. The field-dressing process will remove all the blood that needs to be removed for now. Not only should you not cut the throat, do not make any cuts except for the one I described for field-dressing the deer. Any cuts above the sternum is damaging usable cape.
2. Getting the Deer Out
Do not tie a rope around the deer’s neck as you drag it out of the woods. This will damage the cape, and more times than not leave a bald spot where the rope was. If you have to use a rope, secure it around his antlers. This will keep the head and upper body off the ground. Dragging a deer will quickly damage the cape beyond repair. To prevent the deer’s hide from rubbing on the ground when you absolutely must drag it, wrap the upper body in a tarp or jacket.
The best method for getting a deer out of the woods is by carrying it. Unfortunately this is not always possible, or practical. The next best method is hauling it out. If you can, drive next to the downed deer and simply load it into the back of your truck. Again, this is not always possible. An ATV is another good way to haul an animal out. Lastly, invest in a two-wheeled game cart to haul your prize out of the woods.
3. Cool It Down
We’ve all been told as hunters the importance of cooling an animal down as quickly as possible to protect the meat. The first step in accomplishing this task is field-dressing the animal. However, this not only protects the meat from spoilage, it also protects the cape.
After your deer is field-dressed, it is time to hang your deer. Never hang a deer by its head if you’re going to have it mounted. I always hang a deer by its back legs for two reasons. First, to prevent rope burn around the neck. Second, the cape could stretch if the deer is hung by its head/antlers. After you have the deer hung place some ice bags into its chest. The ice will cool the deer faster than without it. The water will not pool inside the deer as it runs out of the muzzle along with the blood.
A reason you don’t want water to pool is because it is a breeding ground for bacteria. Use as little water as possible when rinsing blood stains from the cape. Using excessive amounts of water might not show any immediate damage to the cape, but after a while you could begin to notice hair slippage.
4. Make the Cut
After you have your buck out of the woods and cooled, it’s time to cape the deer. Don’t go to the extreme with this task. All that’s necessary is to remove the head and plenty of cape for a shoulder mount. It’s important to leave more than enough cape with the head. A taxidermist can always cut excess hide off, but he can’t add more.
When you have caped the deer like I will describe, the head and skull of the deer stays attached to the cape. By leaving the head attached to the cape the taxidermist can make the delicate cuts near the mouth, nose and eyes and make sure it gets done correctly. If you choose to completely cape out the head yourself, the video below will help make the job easier.
To cape the deer make a cut in the hide six to eight inches behind the front legs. This cut needs to encircle the entire body of the deer. The next step is to slit the skin at the knees, or slightly above. Make a cut from the knees to the cut that goes around the body. This cut should be done on the backside of the legs.
Now the hide is ready to be peeled away from the deer’s body. At this point, a knife will not be used much. The hide should easily pull away, but at times you might have to use your knife when you come across a stubborn area. Be very careful not to cut through the hide.
Continue to pull the hide down until you reach the deer’s ears and jaws. The point where the head meets the neck should now be exposed. Using your knife make a cut completely around the neck about three inches below where the head and neck joins. Make the cut deep enough that you get to the spinal column. The only thing left to do is remove the head and cape.
The removal of the head can be done in one of two ways. My preferred method, and the one I recommend, is to use a hacksaw and cut through the bone. This is the quickest and easiest of the two methods. If you prefer, the head can be separated from the spine by grabbing the antlers and twisting. Twisting the head off can sometimes be tricky, especially if one person is trying to it by himself.

5. Preventive Measures
All that’s now left to do is take care of the hide until you’re able to deliver it to the taxidermist. Keep the hide clean, both inside and out. Tossing the hide on the ground will cause tiny pebbles to get stuck in the hide. Taxidermists hate picking out rocks because you were careless where you laid the hide.
Get the head and hide to the taxidermist as soon as you can. If you’re not able to get it to him immediately, roll up the hide and put everything in the freezer. As long as the temperature is 40 degrees or below, your hide will be fine for a while without being put in the freezer.
Wrap all of the head and hide in a plastic bag. It’s not necessary to cover the antlers. Within 90 days or so, it’s possible for freezer-burn to set in, so try to get your trophy out of the freezer and in the hands of the taxidermist before then.
Taxidermists might not be magicians. Sometimes the work they do makes one think they are. However, anything we can do to make their job easier, quicker, and with less hassle, should be done. Hopefully this article will help you and your taxidermist.
Tell us what you think in the comments section below.
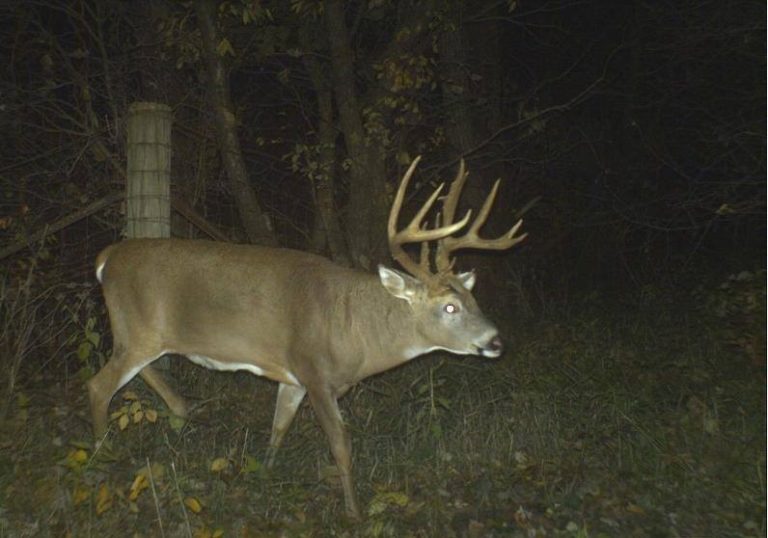
Photo (top): Risovi Taxidermy Studio