My photography skills have never been much to brag about. Over the years I have taken the advice from those better than me and have a learned a thing or two about taking good turkey photos. Better photos do not always mean just clear photos. I strive for photos that help tell the story. That is a better photo to me.
I always have my camera with me. I do not want to just take a photo of the bird I killed. I want to take photos that help tell a story. Photos of where the bird was killed, the tree I was sitting in front of, the blind I was in, etc. These photos not only help tell a story, but they help me remember things about the hunt that I might otherwise forget over the years.
I do not think you can take too many photos. I know of several outdoor writers that will spend an hour or more taking hundreds of photos to get a handful they can send with an article. They do this because a photo is often worth a thousand words, and they probably have had a story or two rejected because of poor photography.
Now, I don’t suggest or even expect you to spend that amount of time snapping pictures, but with today’s digital cameras it is easy to delete photos that do not turn out the way you want. It does not cost a penny to use your digital camera. The days of the 35mm film are long past.
An expensive camera is not needed for quality photos. A camera considered bottom line in today’s market was top of the line just a few short years ago. Cameras with at least 5 megapixels are best, and the higher the megapixels, the better the quality of the photo.
Keep your camera charged, store it in a small protective case, and bring a lens cloth to keep the lens clean.
Good turkey photos begin immediately after you shoot the bird. As soon as a bird is shot it is going to flop around on the ground for a few seconds before it finally dies. This often results in the bird losing feathers and getting dirty.
A lot of damage can be prevented if you are willing to use your hands and hold it to the ground until it stops moving. Another option is to step on its head and break its neck by swiftly pulling straight up while holding on to its back legs.
Once the bird is still, use your hands to brush off any dirt. If you see blood, try and get rid of it the best you can using towels.
The sooner the photo session can begin after the bird was shot, the better. The best times to take photos are early in the morning and late in the afternoon. The sunlight is not as fierce during these times. If you kill a turkey midday, try to wait later in the evening for pictures if you can. If the weather is warm and the bird is likely to spoil, do not wait.
It doesn’t matter if you are taking trophy shots of a turkey, deer or even a rabbit, do not take them in a cluttered garage, in front of the truck, by the front porch or other areas that do not represent a hunting scene. And for goodness sakes, leave the beer can and cigarettes out of the photo.
If you must move the bird to a better location to get a good photo, do so. But try to keep it in the same general area of where it was killed.
Think outside the box when taking photos. One of my favorite photos is only the bird hanging from an old wooden fence, barn or tree. I especially like the photo printed in black and white.
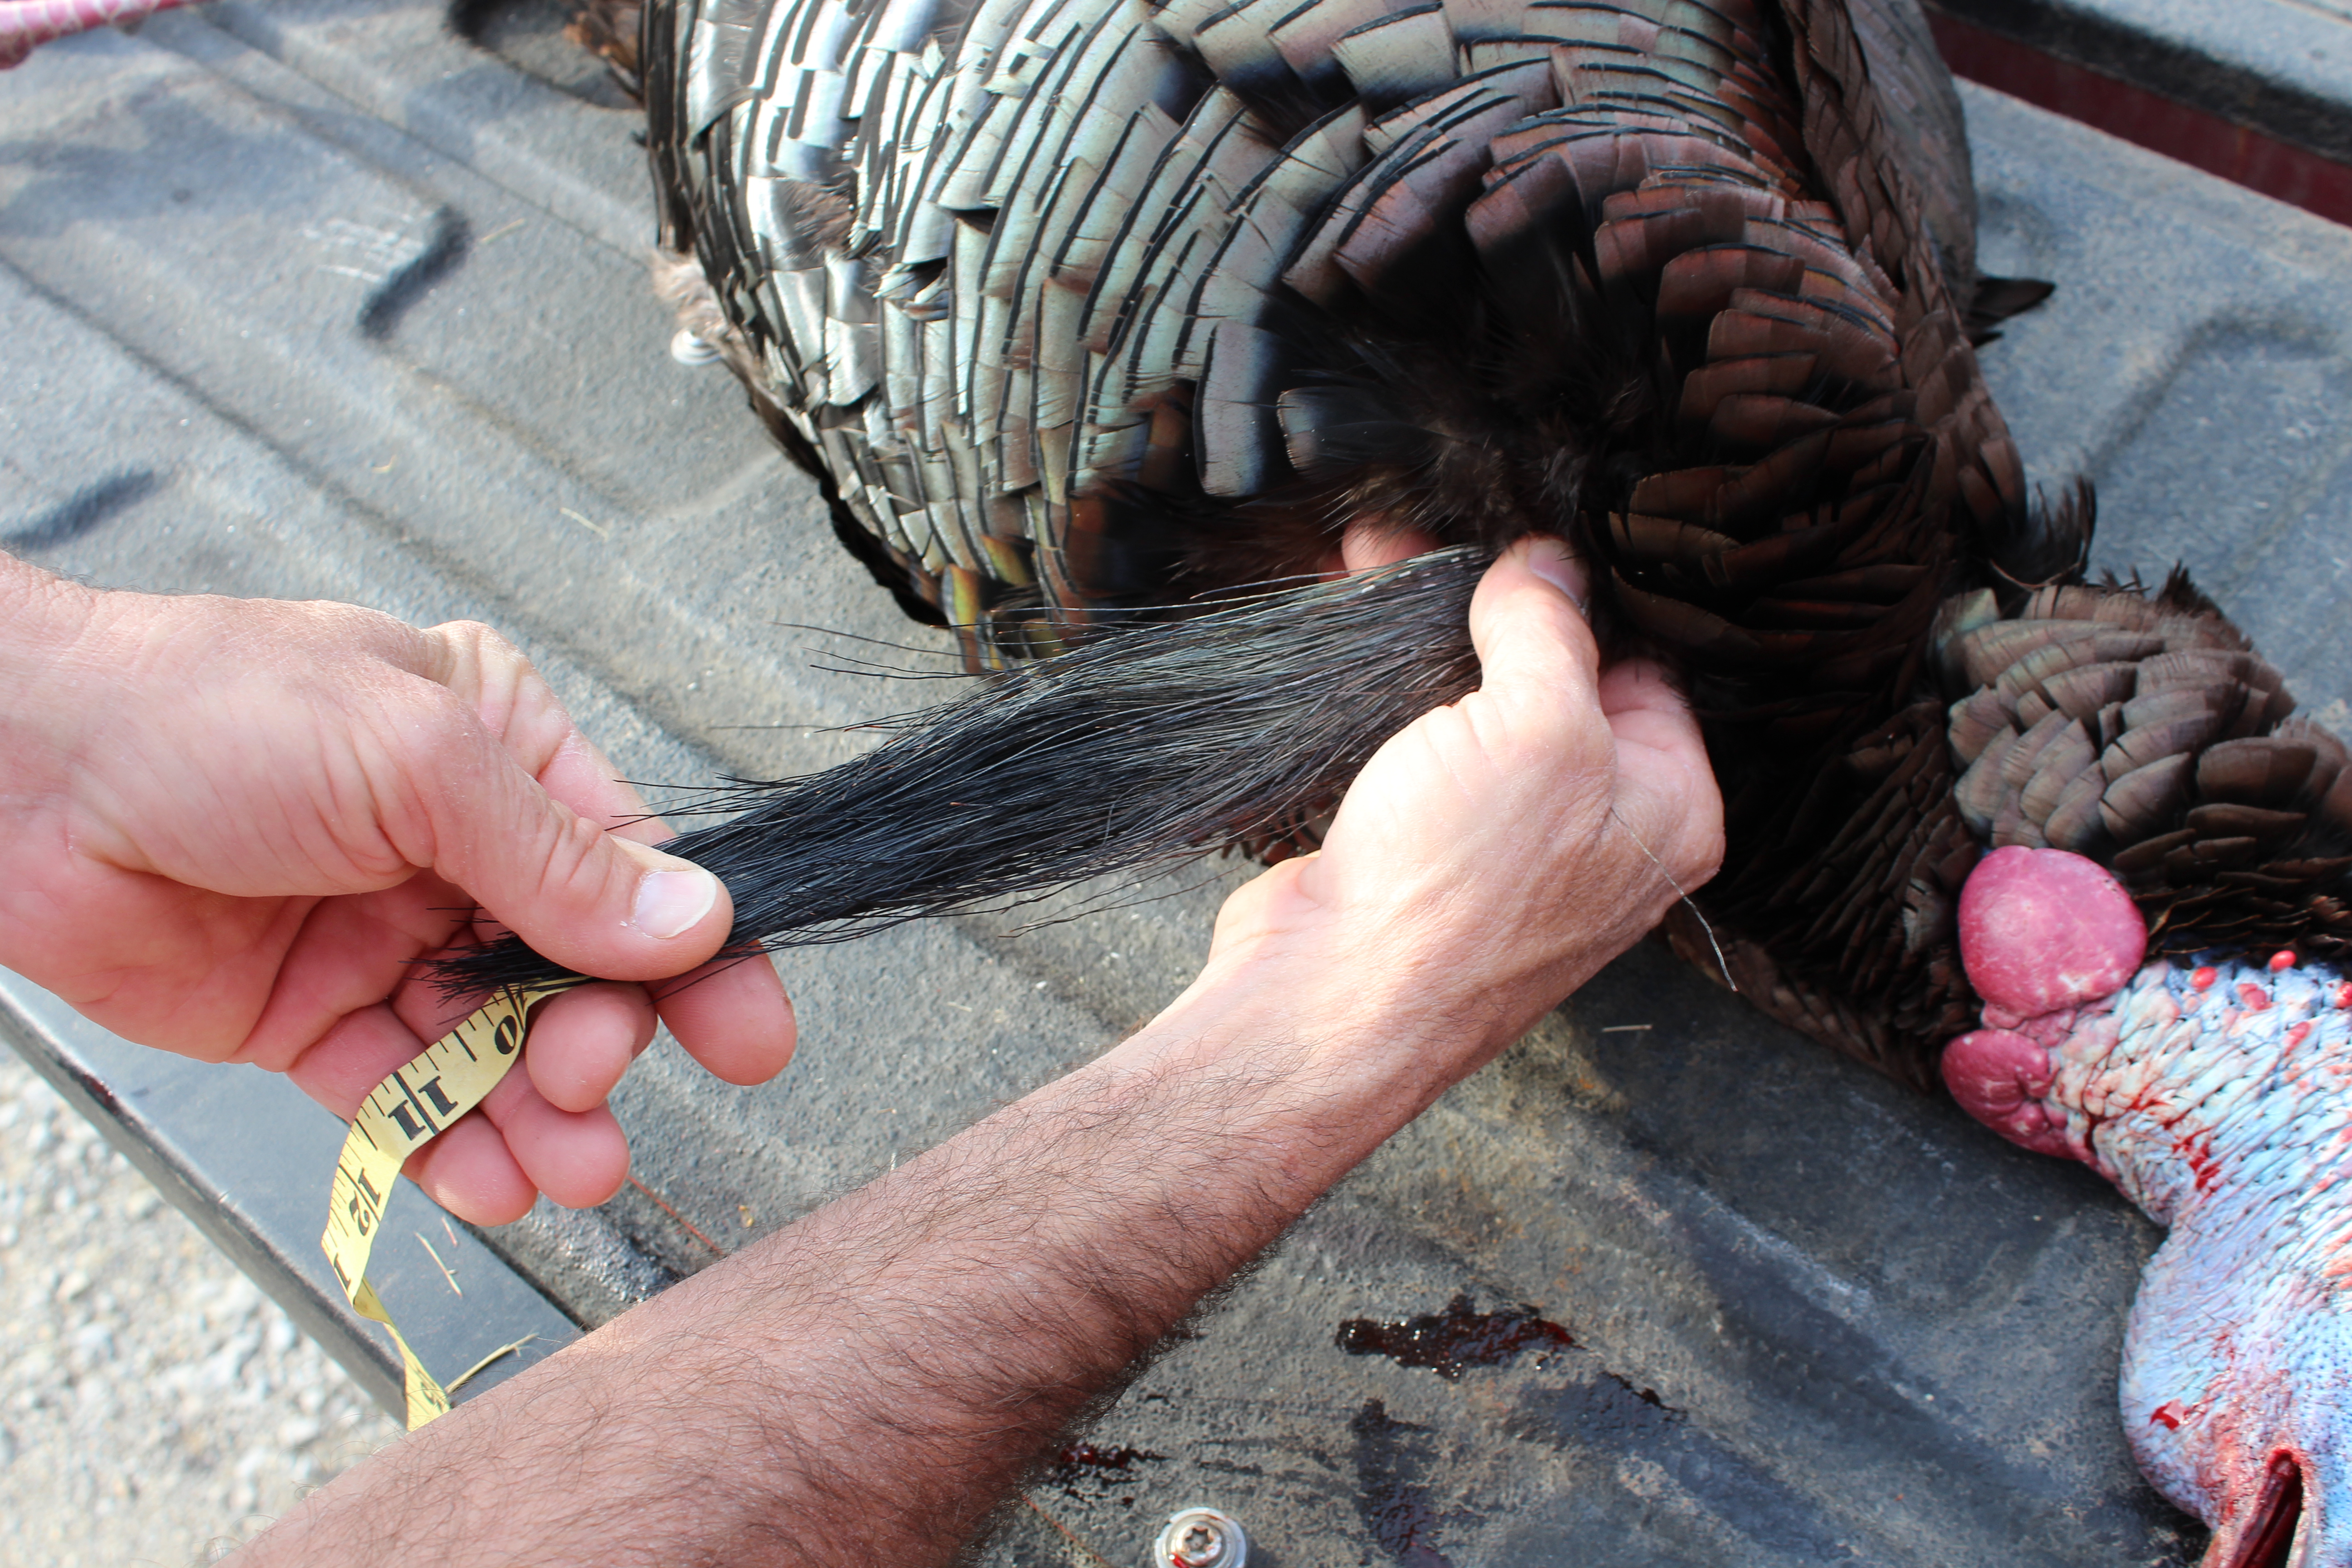
When you are doing standard hunter/trophy pictures, prop the underside of the turkey on a log or stump. Just a reminder, always have the tail fully fanned out. People want to see the tail feathers in all their beauty.
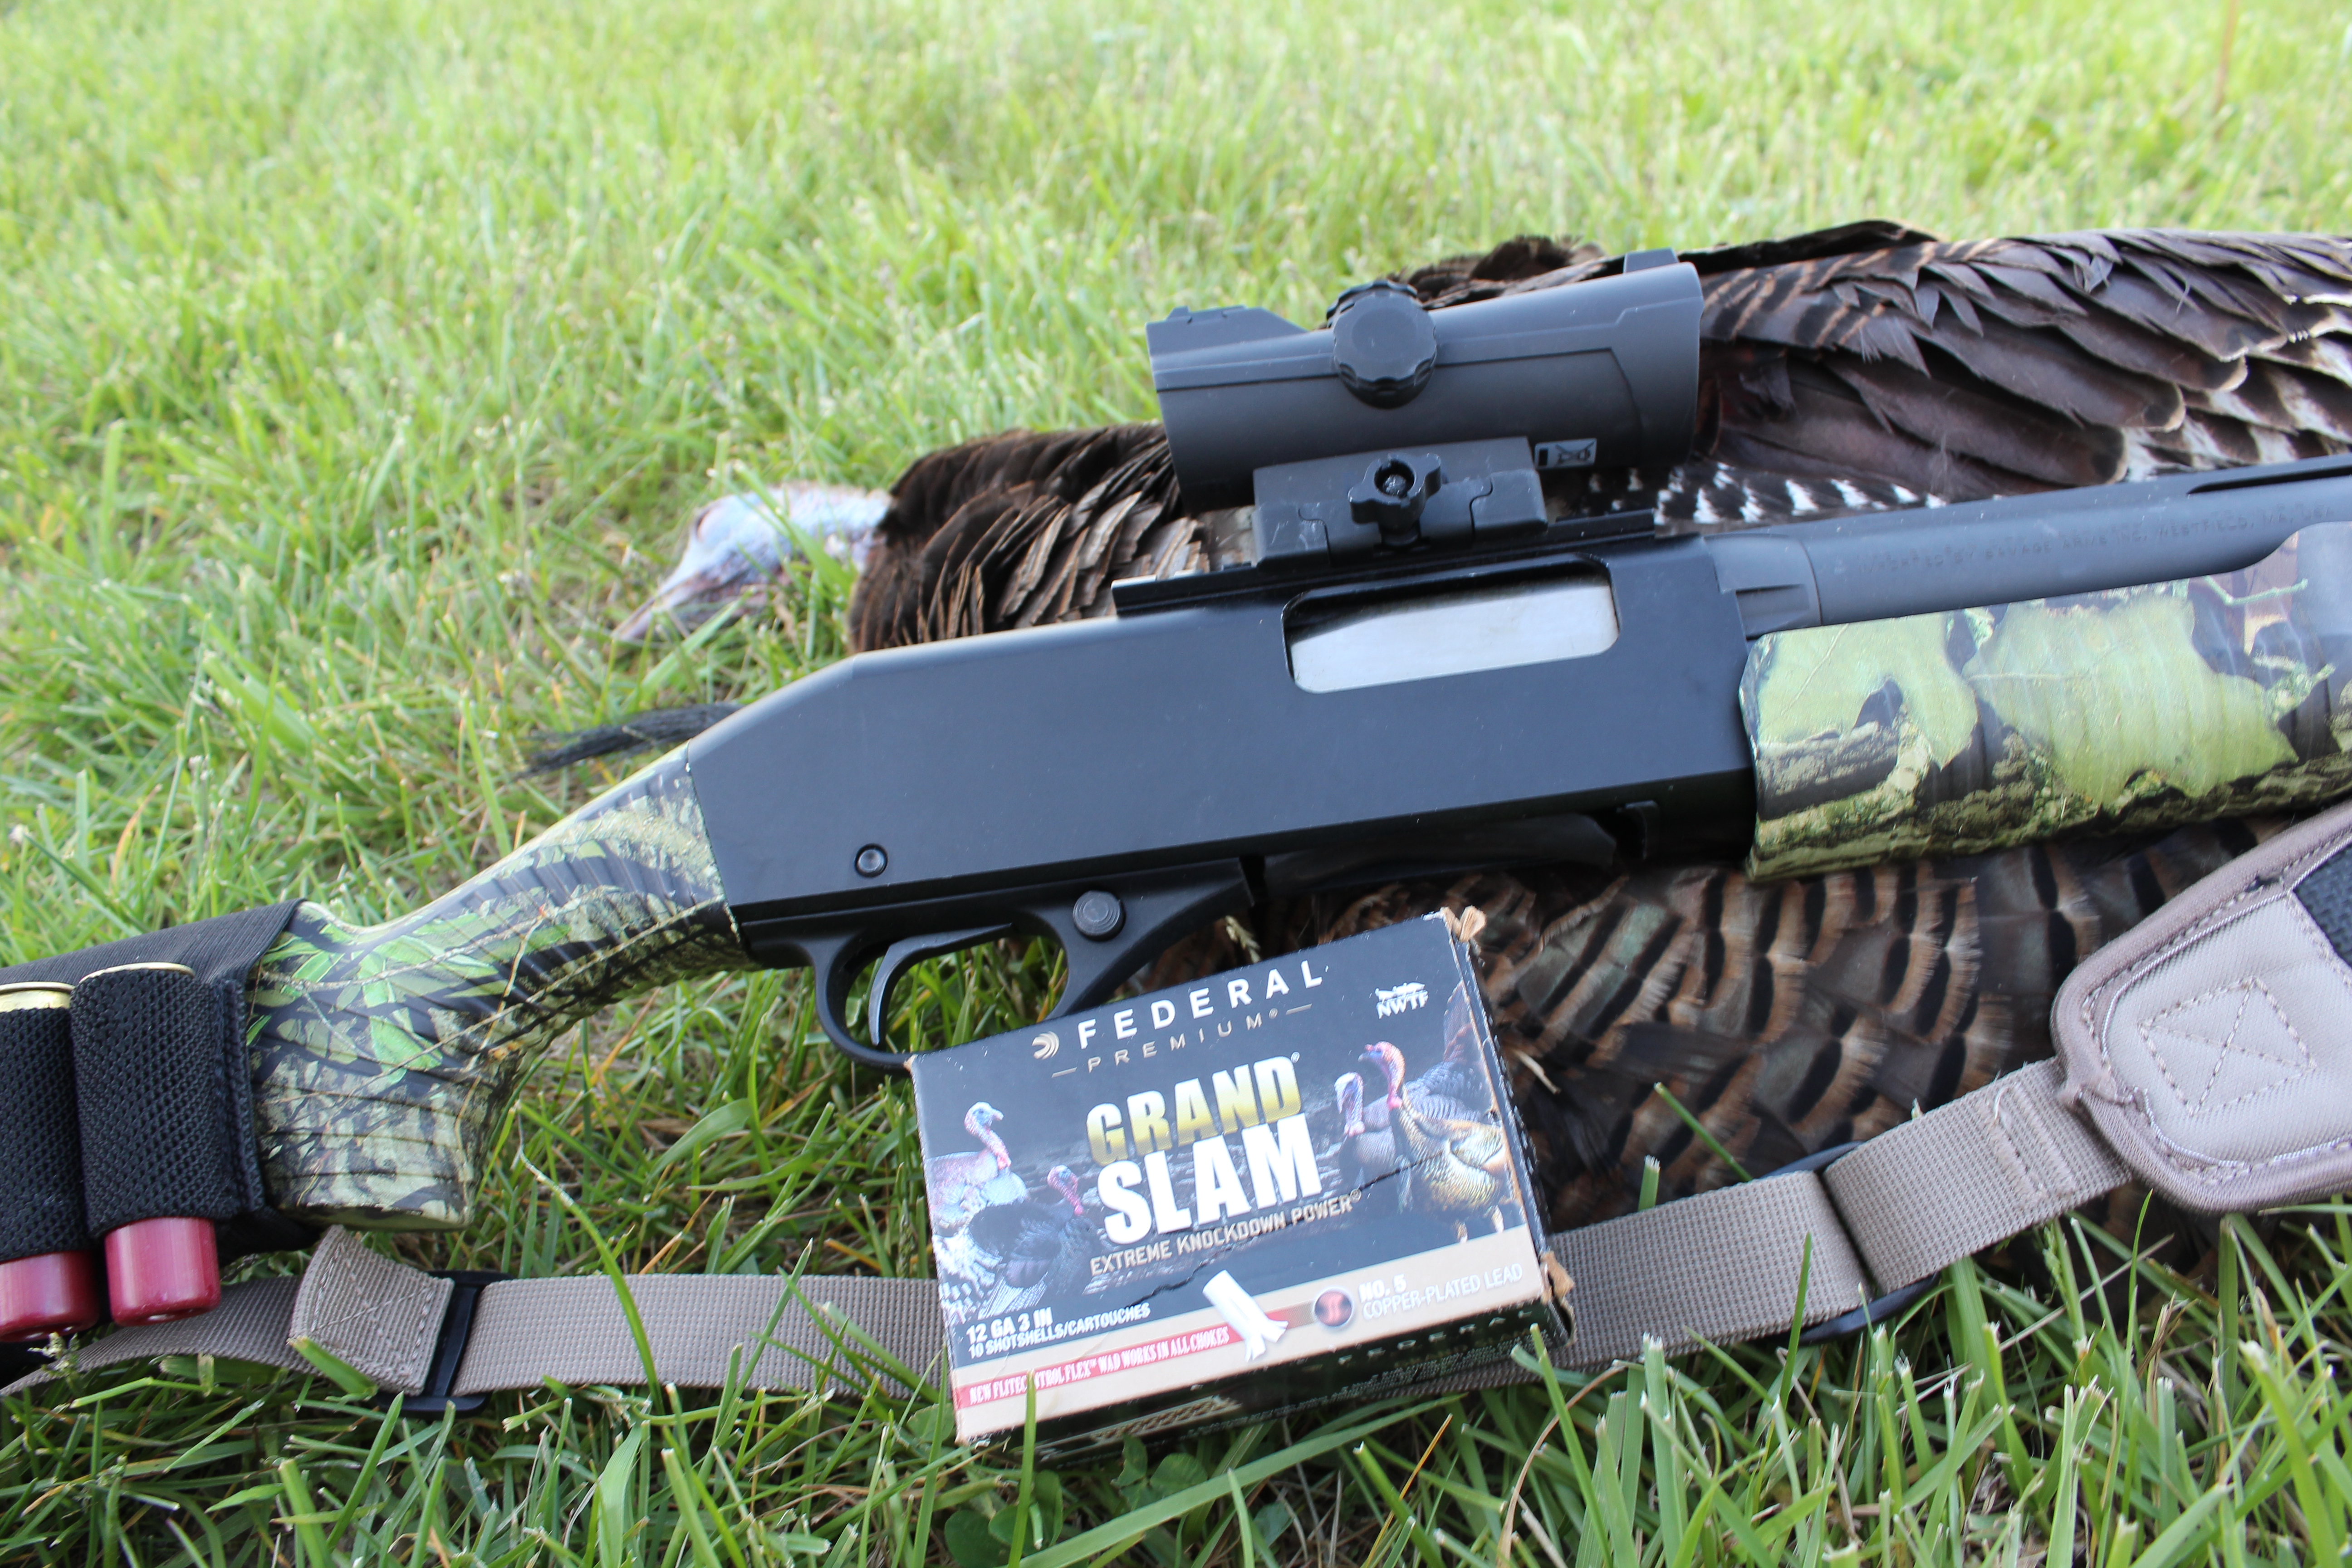
There are other things that I like to include in my photos. I always have my weapon included in the picture. If I used a ground blind, I will get a few photos with it in the background. The same for decoys. And of course, photos of the bird draped over your back as you walk away is a favorite.
Before heading to the field, make sure your battery is fully charged and you have enough room on your SD card. Familiarize yourself with the timer on your camera and your tripod.
When you have a good photo opportunity, take it. You might not get back to it later. Enjoy your photos and proudly display them on your walls and/or in photo albums.